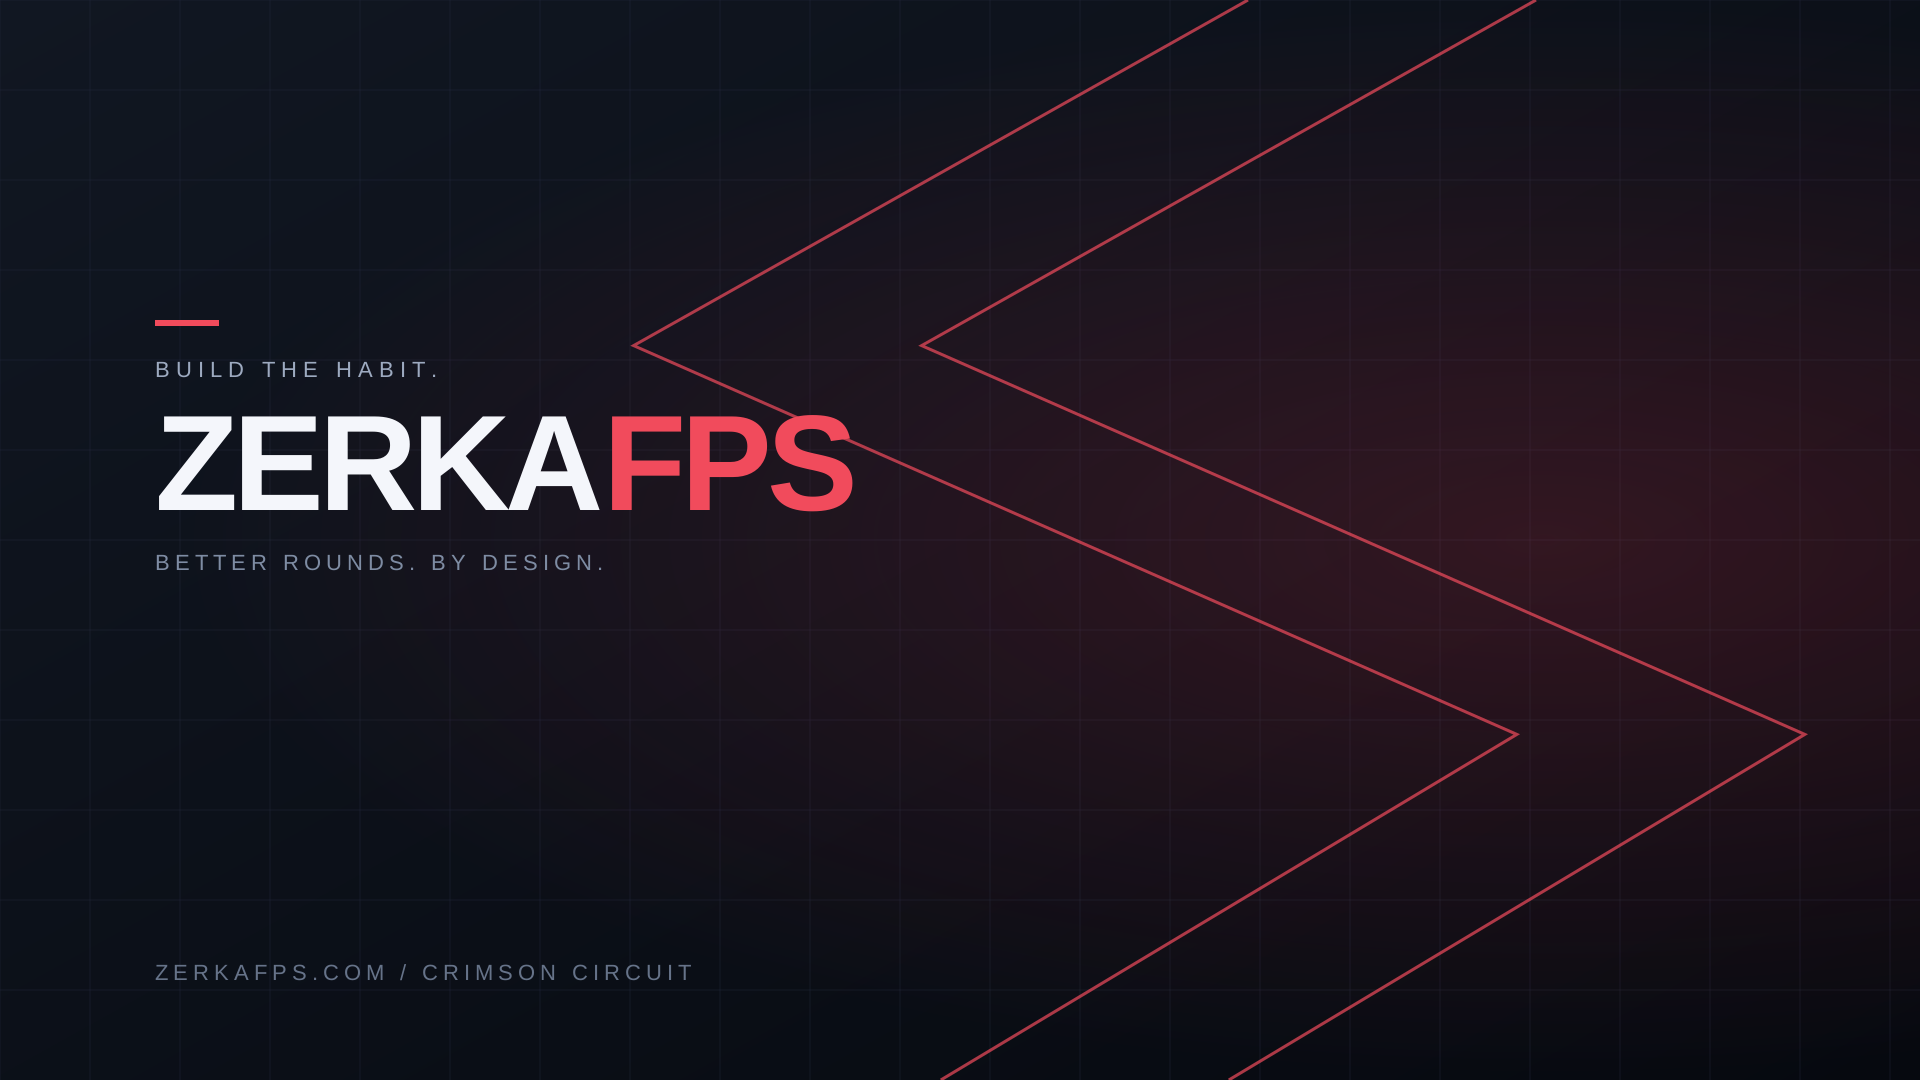
01 / Desktop + phone
Crimson Circuit wallpapers
A dark geometric set with a crimson accent. Desktop at 1920 × 1080 and phone at 1080 × 1920, with ready-to-use PNGs and editable SVG sources.
Download wallpaper pack ↓The free drop / Volume 01
Original artwork and practical starter assets from ZerkaFPS. Choose a pack, download it and make it part of your setup. Free, with no account or email gate.
01 / Desktop + phone
A dark geometric set with a crimson accent. Desktop at 1920 × 1080 and phone at 1080 × 1920, with ready-to-use PNGs and editable SVG sources.
Download wallpaper pack ↓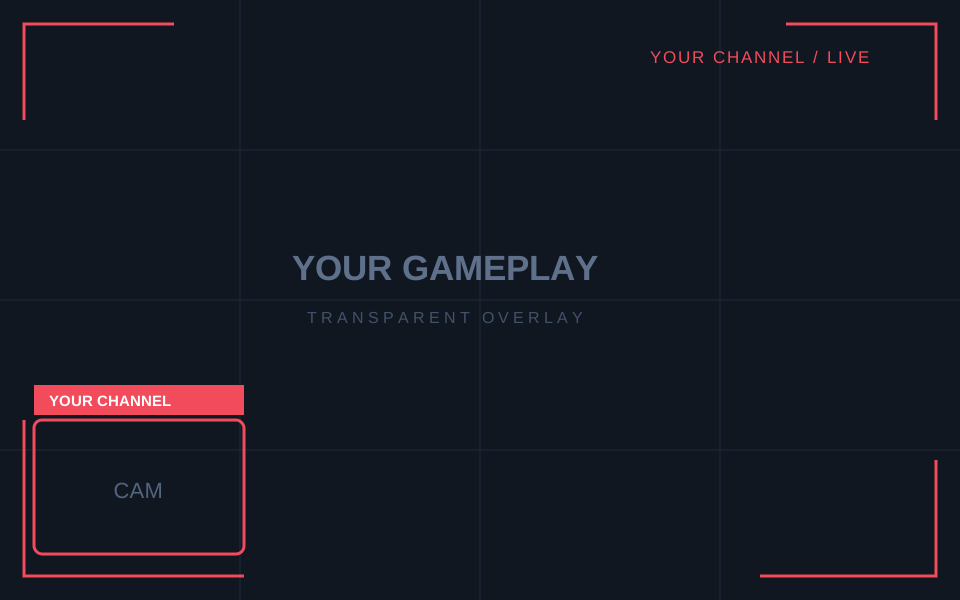
02 / Stream-ready scenes
A transparent gameplay overlay plus Starting Soon and Be Right Back scenes. Local HTML Browser Sources for OBS, with editable channel text and colors.
Download stream kit ↓1920 × 1080 · HTML + SVG · Setup guide included
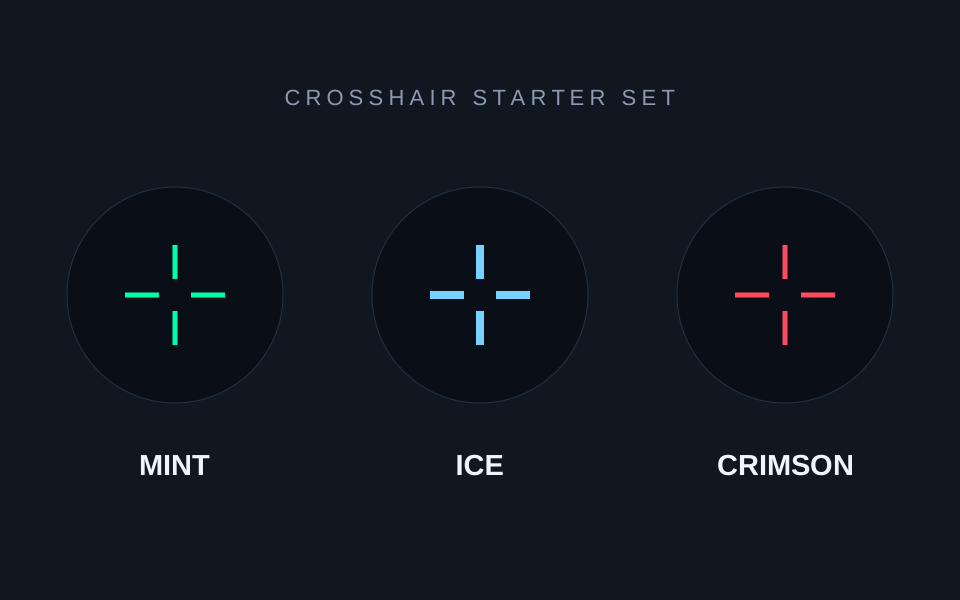
03 / CS2 settings
Three editable classic-static presets: Mint, Ice and Crimson. Plain-text .cfg files with size, gap, outline and color settings, plus a preview and manual-use guide.
Download crosshair set ↓Preview and tune the settings in a practice session.
Download. Set up. Use it.
Reading on your phone while CS2 is open on your PC? Keep these steps beside you. Open this same page on your gaming PC when you need to copy a command or download a file.
Choose Mint, Ice or Crimson. The copied commands change crosshair appearance only.
cl_crosshairstyle 4; cl_crosshairsize 2; cl_crosshairgap -3; cl_crosshairthickness 0.5; cl_crosshair_drawoutline 1; cl_crosshair_outlinethickness 1; cl_crosshairdot 0; cl_crosshaircolor 5; cl_crosshaircolor_r 0; cl_crosshaircolor_g 255; cl_crosshaircolor_b 170; cl_crosshairusealpha 1; cl_crosshairalpha 255cl_crosshairstyle 4; cl_crosshairsize 2; cl_crosshairgap -2; cl_crosshairthickness 1; cl_crosshair_drawoutline 1; cl_crosshair_outlinethickness 1; cl_crosshairdot 0; cl_crosshaircolor 5; cl_crosshaircolor_r 120; cl_crosshaircolor_g 210; cl_crosshaircolor_b 255; cl_crosshairusealpha 1; cl_crosshairalpha 255cl_crosshairstyle 4; cl_crosshairsize 2.5; cl_crosshairgap -3; cl_crosshairthickness 0.5; cl_crosshair_drawoutline 1; cl_crosshair_outlinethickness 1; cl_crosshairdot 0; cl_crosshaircolor 5; cl_crosshaircolor_r 255; cl_crosshaircolor_g 75; cl_crosshaircolor_b 95; cl_crosshairusealpha 1; cl_crosshairalpha 255Console key not working? Check that the console is enabled, then check its Toggle Console binding in Keyboard/Mouse settings. Valve's console instructions use the same basic enable-and-open workflow.
game → csgo → cfg. Copy the three zerka-*.cfg files into this folder.exec zerka-mint and press Enter. Use exec zerka-ice or exec zerka-crimson for another preset.“Could not exec file”? Check that the files were extracted into game/csgo/cfg and end in .cfg, rather than .cfg.txt. The copy-and-paste method above is an alternative.
overlay.html from the extracted folder.starting-soon.html or be-right-back.html.Change the channel name: open the HTML file in a text editor, replace YOUR CHANNEL with your name and save. Refresh that Browser Source in OBS. See the official OBS Browser Source guide.
The ZIP includes both PNGs and the editable SVG sources. Use the PNG for the quickest setup.
You may use and edit these original assets for personal setups, social posts, videos and monetized streams. Credit to ZerkaFPS is appreciated. Do not resell the unchanged pack or imply an endorsement by ZerkaFPS. The included README carries the same permissions.
The packs contain artwork, local HTML scenes and text configuration files. Extract the ZIP to inspect and use the files. No installer or account is required.
Found an issue or have an idea for the next drop? Get in touch. For a useful next practice block, try the corner-clearing lesson or the guided warm-up.